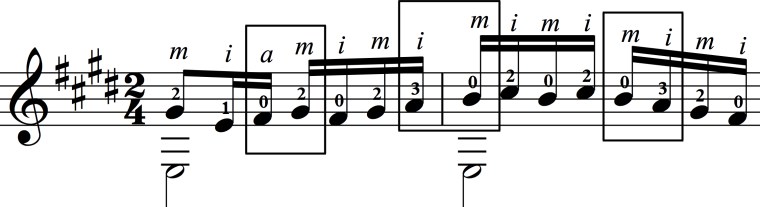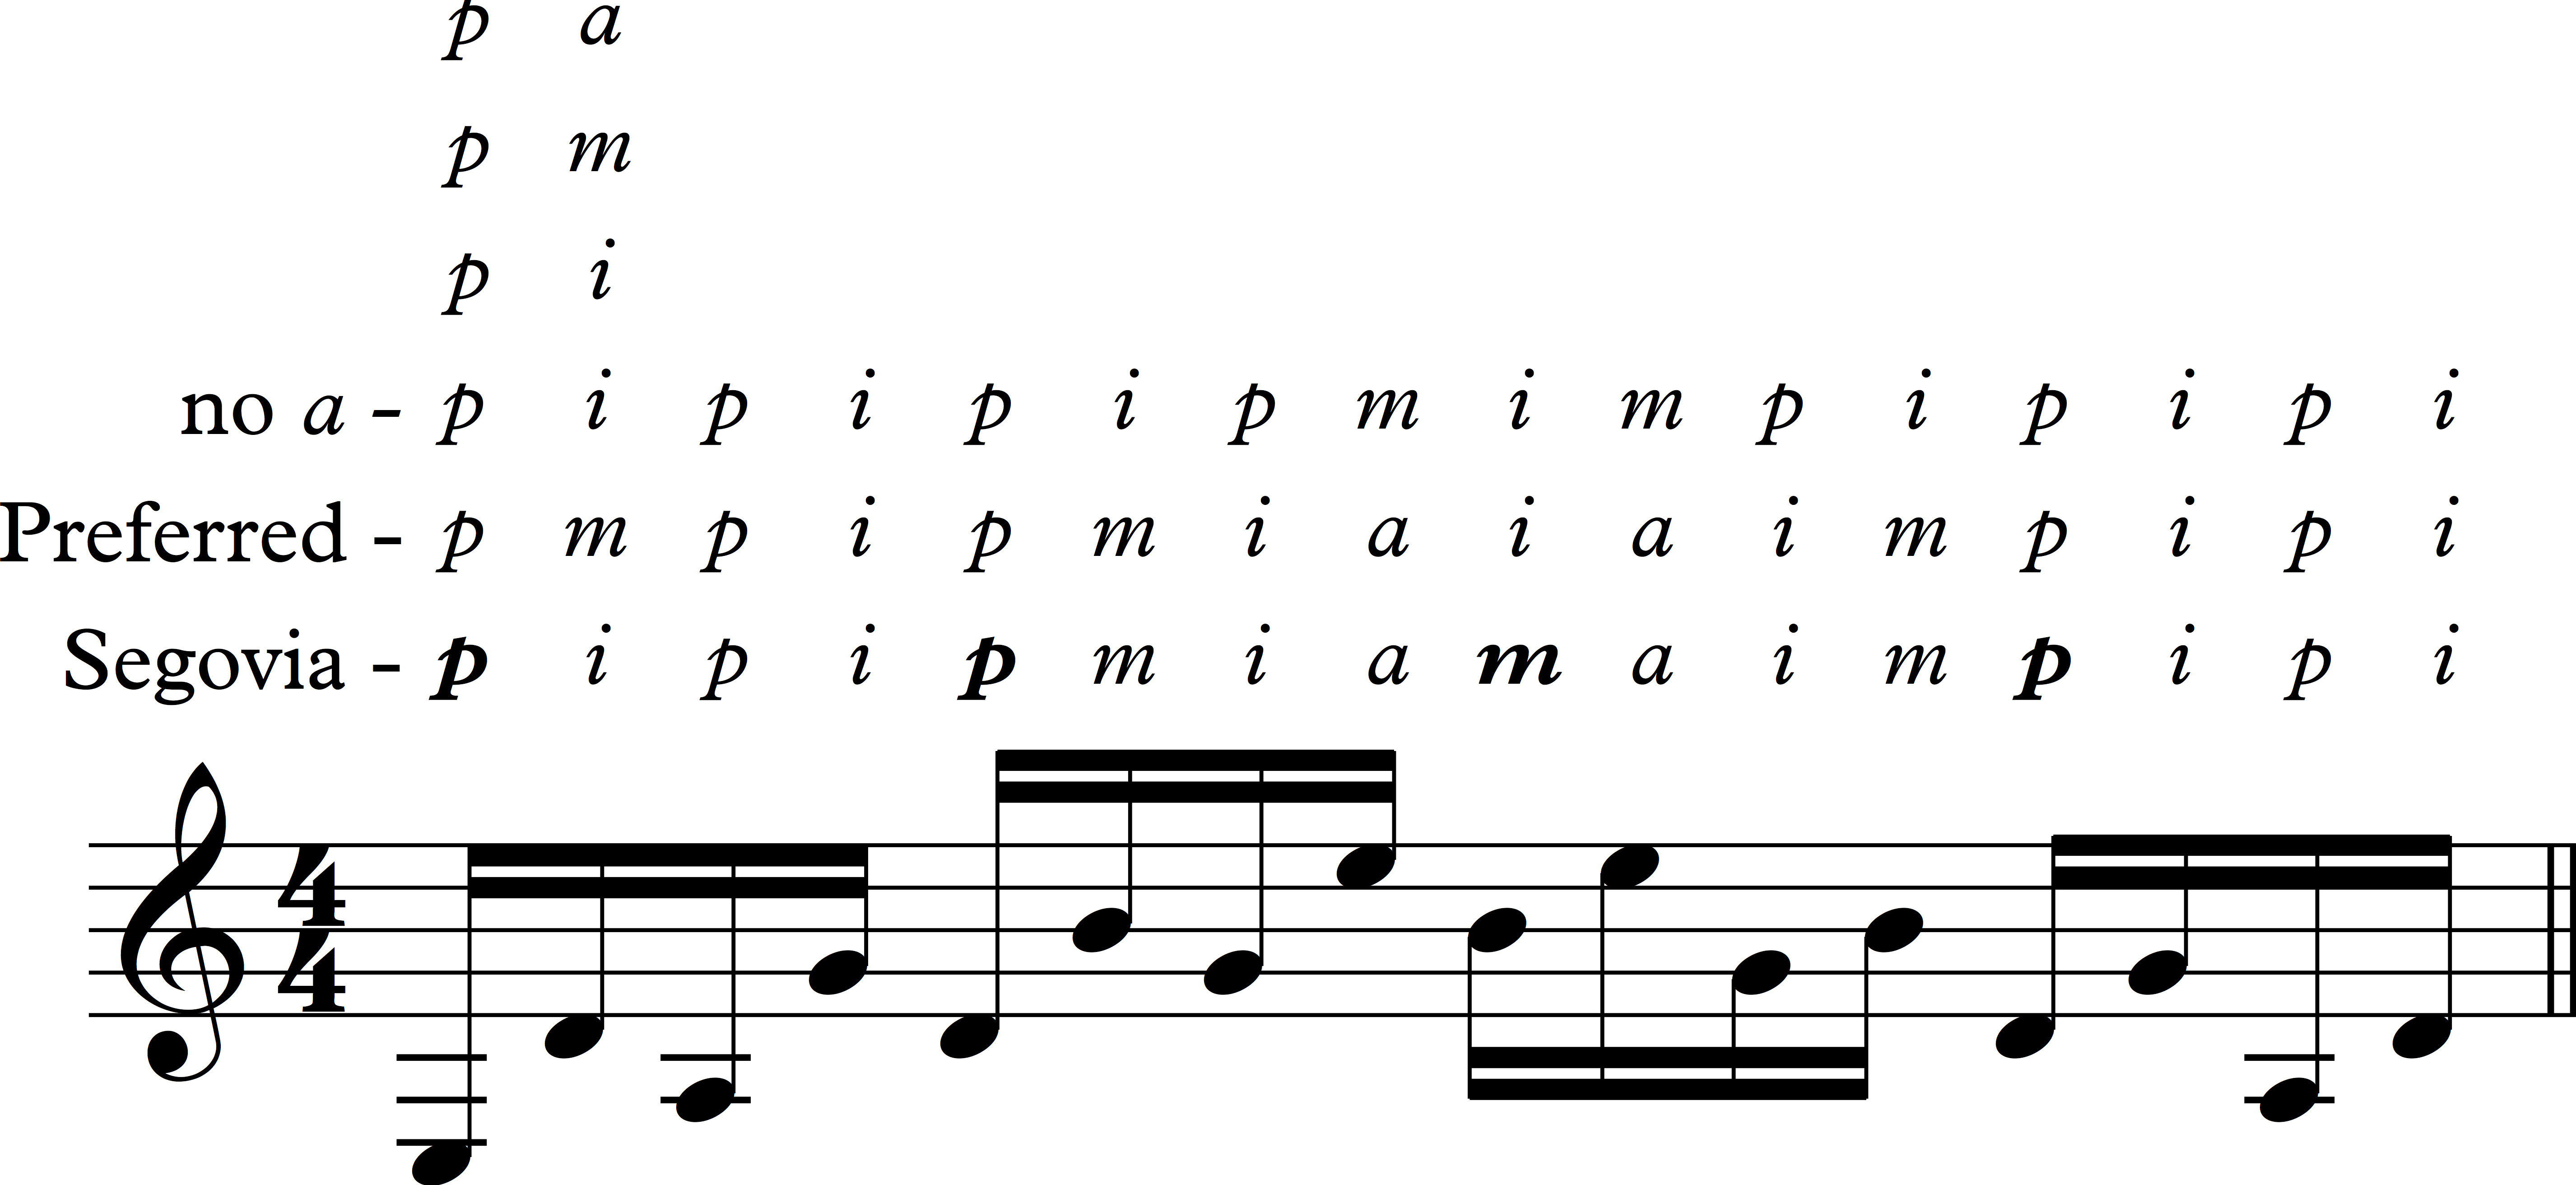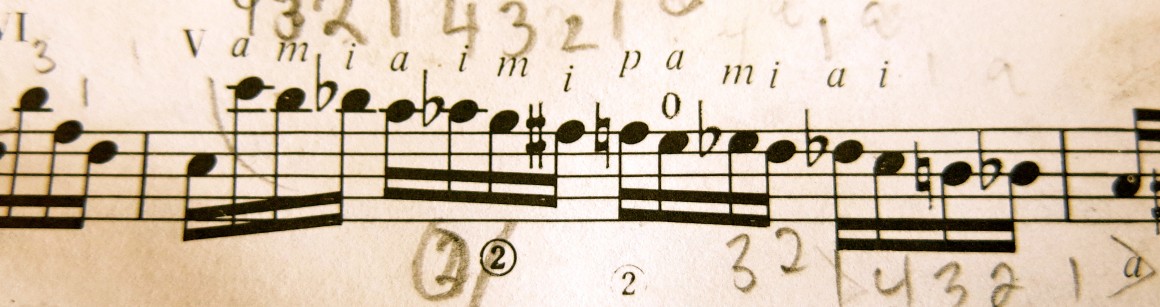
Assuming the previous workout has had positive effect on your control, accuracy, and finger strength, it’s time to go a bit further. Now we’re going to work on the following two-pair and compound finger movements following the same steps we took in Part 1.
Two Pair – 12 34, 43 21, 13 24, 42 31, 14 23, 32 41
Compound – 121, 212, 232, 323, 343, 434, 131, 313, 242, 424, 141, 414
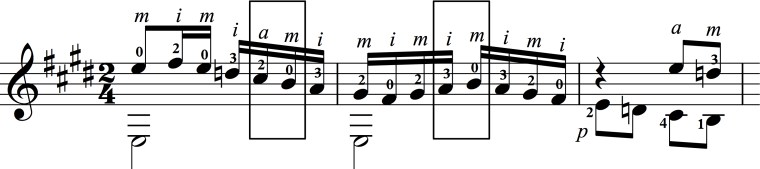
Step 1 – Start all movements without slurs (example using 12 34 and 121)


Step 2 – Incorporate slurs


Step 3 – Build endurance

Stay tuned for Part 3.


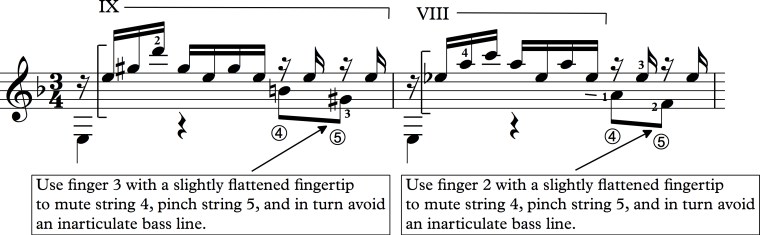
 Rule 2
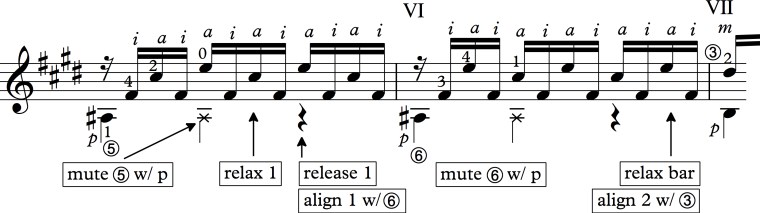